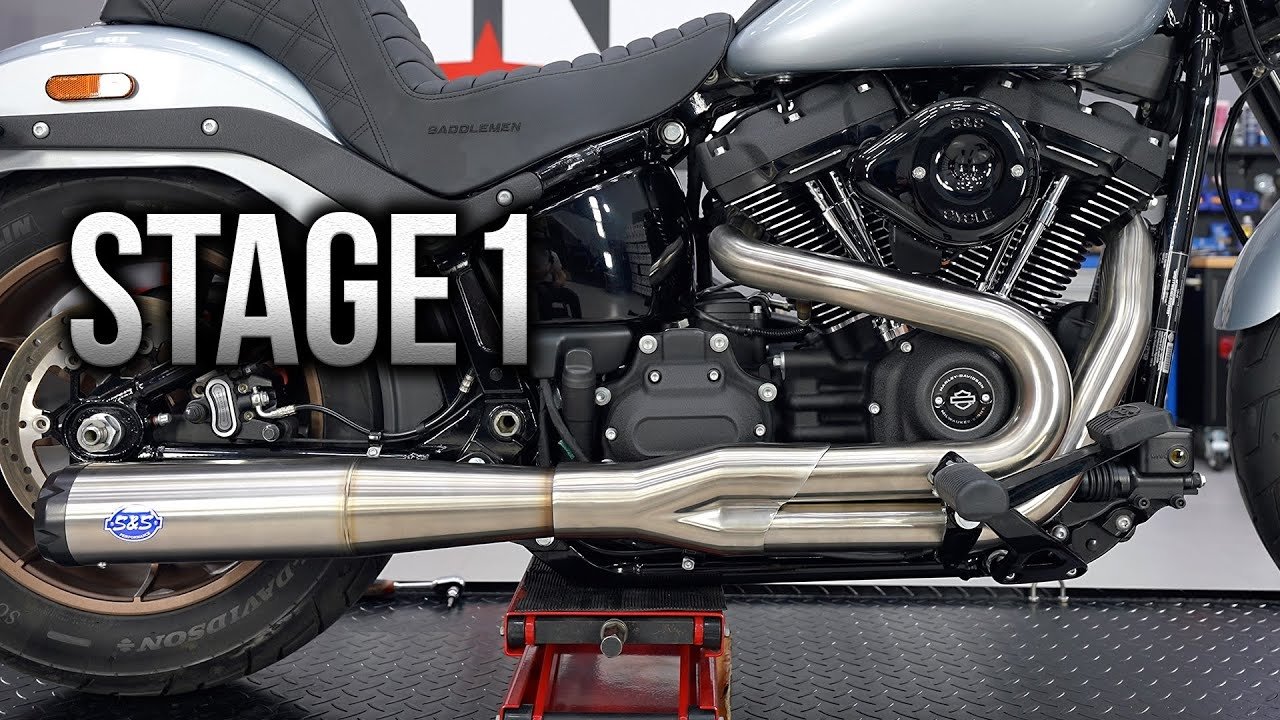
Best Stage 1 for Softail M8
Stage 1 is the main engine modification of Harley-Davidson. It includes the replacement of intake and exhaust, and fuel map tuning. In this article we are going to give information about all the components and engine tuning, and show a detailed installation video using the Softail M8 Low Rider S as an example. Everything written here is relevant for any injection Harley-Davidson.
New motorcycles’ engines are set to meet EPA emission standards. To reduce the sound level, a removable DB killer silencer is installed in the muffler. To reduce emissions, catalysts are installed, which also create additional resistance. Also, the fuel mixture is made leaner, which leads to engine temperature increase, accelerates wear and increases the risk of premature detonation. So it is necessary to install knock sensors that allow retarding the ignition so as not to kill the engine.
Exhaust
There are lots of mufflers and exhaust systems on the market, but only a few of them meet some important requirements.
The most productive systems are 2-1 systems. When properly designed, they have effective combustion chambers scavenging and can provide maximum power and torque. That’s why all sporty Harley-Davidson bikes have a 2-1 exhaust. They’re compact, weigh little and have maximum clearance when leaning. Also, such systems are easily tuned, unlike 2-2 short ones, which suck in air, which introduces errors in O2 sensors readings.
For civilian use, it’s usually required to keep sound level acceptable, so a DB killer is used. It increases resistance and reduces power at high RPM.
Performance and acceptable sound level are two mutually exclusive parameters, but there is a perfectly balanced system on the market — the S&S Superstreet. This exhaust meets sound and emissions regulations and has excellent performance at low and mid RPM, which is just right for street riding.
To achieve such performance, the engineers had to lengthen the rear cylinder tube and place it along with the front one. This allows you to equalize the pipe lengths of both cylinders so that they work in the same modes. They also used larger diameter sections of different lengths. This slows the exhaust flow to fine-tune cylinder “scavenging” timing for specific RPMs.
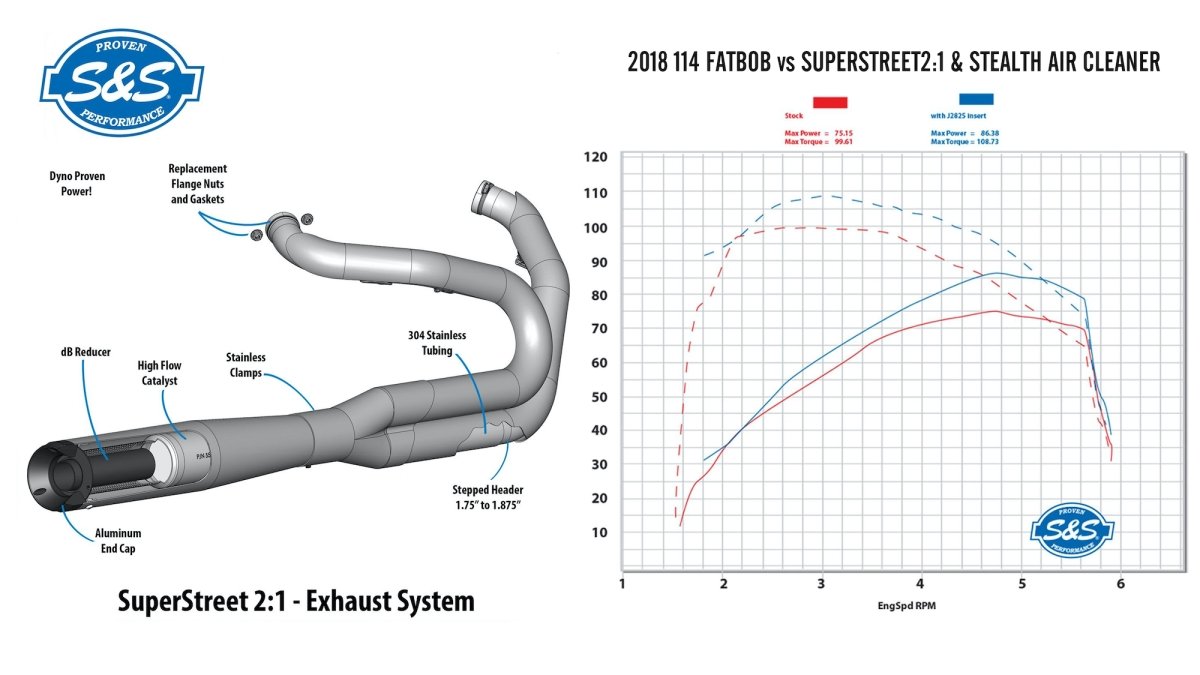
We chose the S&S Superstreet, especially since there is a stainless version that perfectly goes with the Low Rider S with a matte black engine. The only downside to this system on bikes with mid controls is that you have to install the right footpeg bracket through a spacer, which slightly reduces the bike's lean to the right. There is a cool solution from HD – mid controls that are fixed to forward controls mounts, but this kit is very expensive. We decided to wait until other manufacturers launch such brackets, especially since in our case the clearance will not decrease if we install a longer shock absorber.
Intake
There are lots of intakes on the market. Almost all of them have a bigger capacity than the stock ones and a zero resistance filter which can be serviced – these are the main requirements for an air filter.
S&S uses a heat shield base so that the intake air heats up less. And it has a cone in the cover to direct the flow — this makes sense in theory and can be seen on the dyno graphs, but you can’t feel it. We chose the S&S Stealth intake for its classic look and light weight.
Engine tuning
It is recommended to adjust the fuel ratio for any engine modification. The original engine control unit has a small range for adjusting using narrow-band sensors. It allows you to adapt the standard map to some modifications (replacing the intake or installing slip-ons). But it will always work within EPA emission standards when riding at a constant speed, and adjust the map very slowly when accelerating.
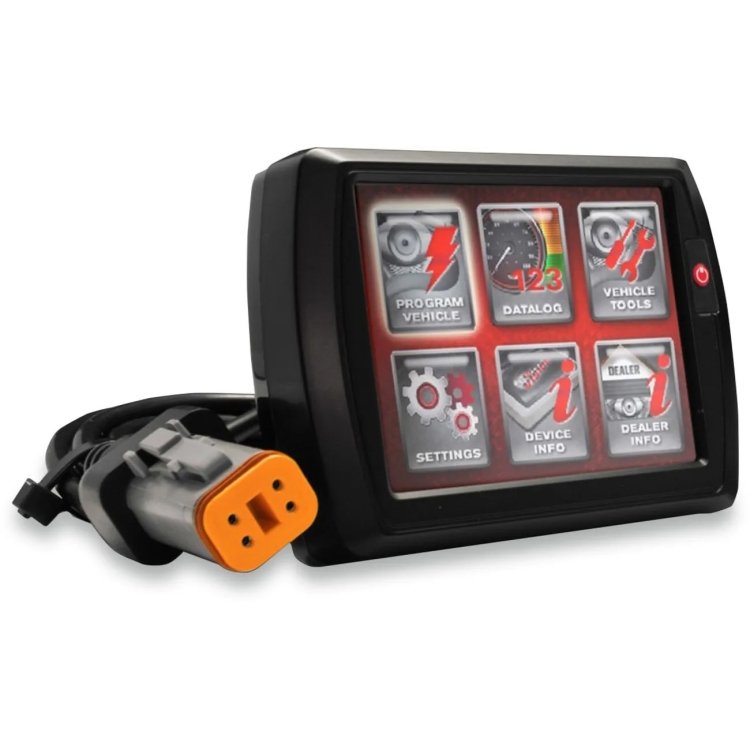
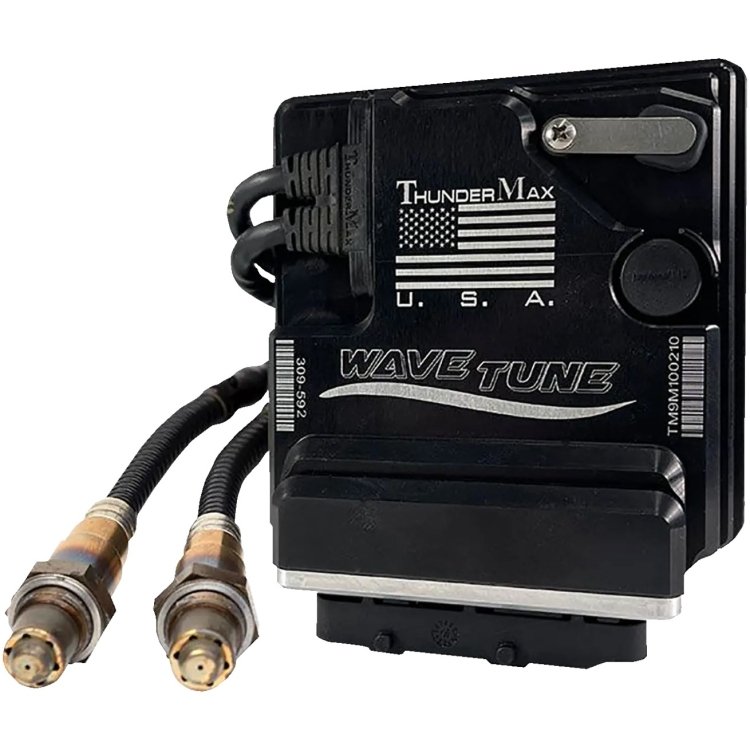
To get around EPA standards and make the fuel mixture richer (higher power and lower engine temperature), an additional Power Vision controller or a full ECM unit instead of the original one like Thundermax is needed. You need to adjust the mixture at a dyno or on the go using wideband O2 sensors. Loading a suitable map without tuning will always be worse than manual or automatic tuning.
The advantage of manual tuning on the dyno is that you can get as close as possible to the optimal map. The downside is that the tuning quality depends entirely on the specialist. Also, after any engine modification you need to come to the dyno service and go through the procedure again.
The auto-tuning advantage is that you don’t need to go to the dyno service, as the tuning takes place automatically according to the data of wideband O2 sensors on the go. The downsides are the price (a set of wideband O2 sensors is more expensive than one or even two dyno service visits) and the fact that the autotune will be farther from optimal than a good manual one (maybe not: there is a link to the head-to-head comparison in this article below).
We chose auto-tuning because there is no dyno service in our area and we do not need as much HP as possible. High-quality manual tuning is a very difficult process, takes a lot of time and requires some knowledge. Also, we plan to modify the engine in the future, so that auto-tuning will be cheaper as well.
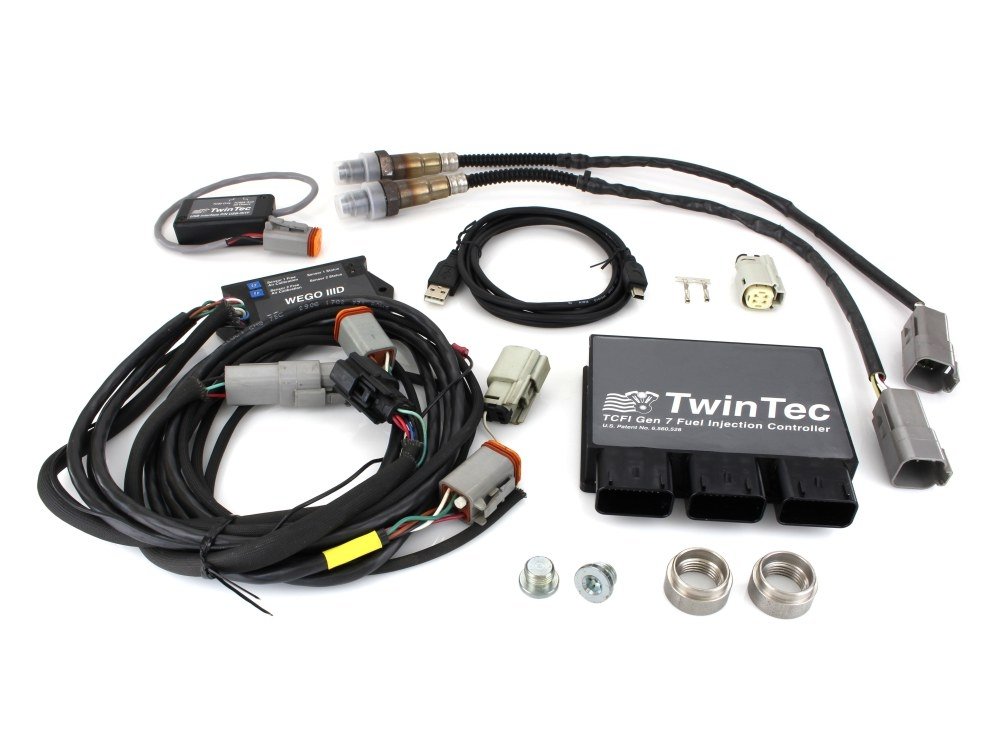
We preferred Thundermax due to its size and easy installation process. For Power Vision, you need to buy an additional Autotune unit, which must be mounted and connected somewhere. Thundermax is simply placed instead of the original ECM. There is also Daytona's Twin Tec autotuner, it comes with an extra unit and a bunch of wires that need to be placed and clipped, so we didn’t consider this option as well.
Vance&Hines' Fuel Pack Pro also has a wideband O2 sensor kit, but it's semi-automatic, so maps are updated after a test ride with a connected module rather than in real time on the go. So, for tuning, you need to make several test rides in all modes. Meanwhile, the engine can be working on a bad map. For Stage 1 it's a great solution even with original narrow-band O2 sensors, but Stage 2 and above have bad reviews. In the future we plan to install a 128" kit, so the Fuel Pack is not an option.
The Thundermax operating principle differs from the original Delphi block with connected Power Commander or FP3, which corrects standard maps. ThunderMax has its own maps and always works in Closed-loop mode (uses O2 sensors). Delphi goes into Closed-loop mode in cruise mode when riding at a constant speed. And when accelerating, it works on static maps, which are corrected with a delay and within small range.
The Thundermax advantages are maps of high resolution and fast throttle response. The disadvantages are that it doesn’t support the work of knock sensors, which are used to prevent detonation (update: in the latest firmware TM can retard the ignition in real time, up to 5 degrees according to knock sensors). In practice, the operating engine temperature is greatly reduced due to the richer mixture, so there is no risk of detonation if quality fuel is used and the base map is chosen correctly.
Installation
All manufacturers that we know provide installation manuals which are important to follow. Incorrect installation or tuning can not only worsen performance, but also lead to engine failure.
It’s important to check how tightly the air filter and exhaust pipes are sealed. Air leaks can lead to lean fuel mixture and engine overheating. When tuning, this can cause errors in O2 sensor readings, which will negatively affect the engine work.
It's crucial to use the thread lock according to the instructions. It not only prevents fasteners from unwinding, but it also seals the aluminum and steel so that fasteners do not oxidize or stick.
Tightening forces are also very important. Harley-Davidson’s bolts have inch threads with a large pitch, so they are easier to tighten than metric bolts, especially in aluminum. We have seen threads stripped many times, for example, in the wheel hub when fastening a sprocket or a brake disc.
For those who want to get the maximum increase in power at minimum cost, there's a YouTube channel DKCustomProducts with a lot of useful information. They tested different options and came to some interesting conclusions:
- The larger power increase with Stage 1 is given by intake, not exhaust.
- When replacing only the intake, it's not necessary to retune the engine. The original block will give enough fuel so that the mixture is not lean and the engine doesn't overheat.
- If you retune the original engine with standard intake and exhaust, you can increase power by 3%.
A very interesting video of a head-to-head comparison of Thundermax and Power Vision with manual tuning: https://www.youtube.com/watch?v=ZGq1p0O99bw The authors compared both options on one dyno on a random day. There are graphs at 19:07, the blue one is Thundermax.
What's especially interesting is that the engine is very non-standard: 550 camshafts, 132 cylinders and pistons, an enlarged manifold and higher-flow injectors. The stock ECM had a map that was manually adjusted using Power Vision on a dyno, specifically for this engine.
At the time of tuning the engine with Power Vision, it produced a maximum of 140 hp and 157 Nm according to STD correction. On a specific day, in specific conditions, it produced 136 hp and 146 Nm (according to SAE) with the same map. With Thundermax, it turned out the same: 138 hp and 149 Nm according to SAE or 141 hp and 153 Nm according to STD adjustment, but the torque curve was smoother and without a dip.
**After test runs vs the stock Low Rider S 114, the conclusion is simple: the gears are much longer, the limiter is higher, the peak power is higher. We started at the fourth gear on the road from low RPM, our bike went much further and faster with increased speed — no precise tests and measurements are needed, the difference is too big and obvious. The low RPM power is about the same, but due to the long gears our bike can accelerate faster.
In our store you can get any help and purchase any parts from the leading world brands. We work with S&S, Vance&Hines, Cobra, Supertrap, Performance Machine, Arlen Ness, Bassani, Trask Performance, Dynojet, Thundermax, Twin Tec.