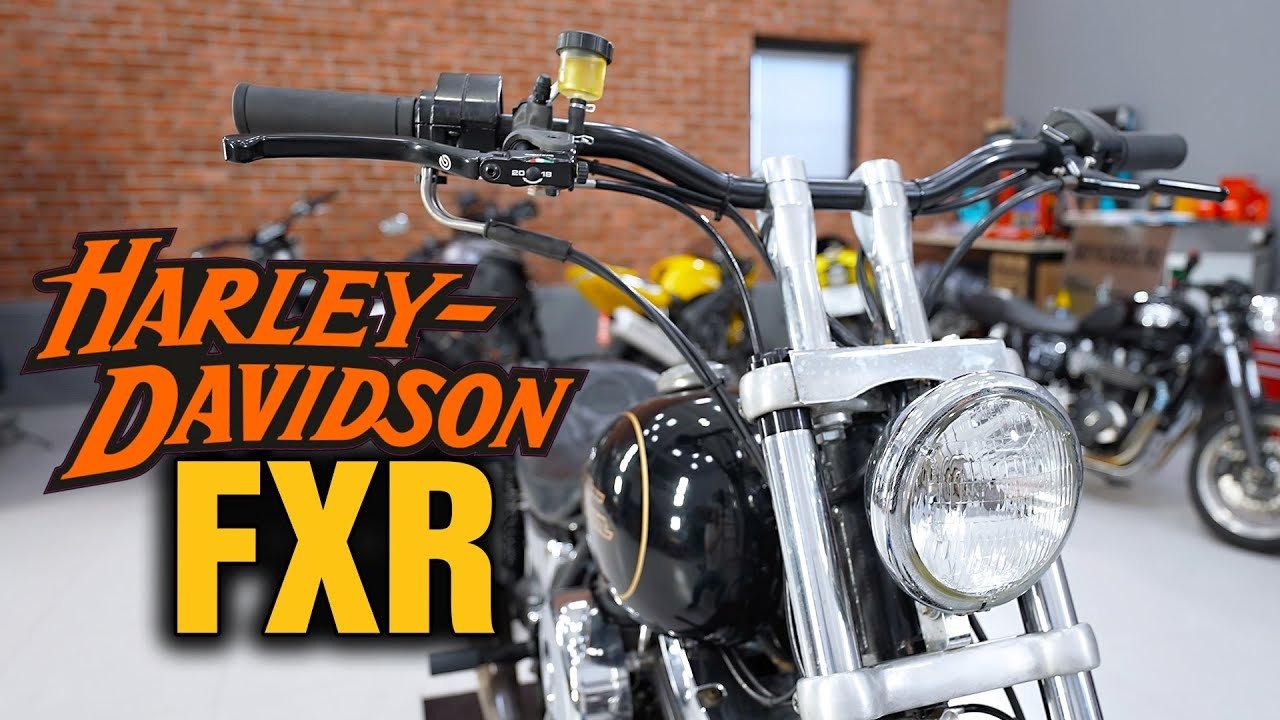
Handlebar Installation Harley-Davidson FXR
In the preparation for Alexander Andreev's Harley Davidson FXR 1994 for stunt riding, we installed a comfortable LSL upright handlebar and dual rotor front brake. The standard handlebar is completely uncomfortable, because of the huge pullback, so it does not allow the rider to actively steer and comfortably hold in the wheelie. The double-disk front brake only makes sense with LEGEND cartridges. Their dampers work for slow compression, which allows the front wheel to be steadily loaded when braking.
- 0:36 Removal of handlebar and switch controls
- 1:41 Throttle cable repair
- 2:23 Installation of handlebar and risers
- 3:02 Handlebar grips replacement
- 3:25 Clutch lever replacement
- 4:03 Switch controls wiring
- 4:46 Brake rotors installation
- 5:25 Radial calipers installation
- 5:45 Steel braided brake line assembly
- 6:40 Brake system bleeding
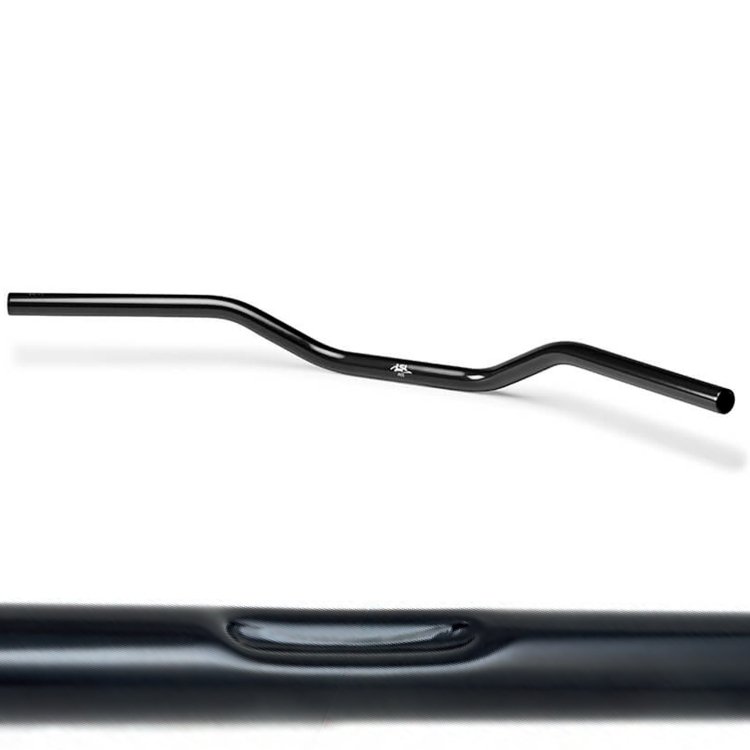
We chose a German L00 steel handlebar with dents for switch control's wires specifically for Harley-Davidson motorcycles. The handlebar is durable, has thicker walls, and is made of high-quality steel. We decided not to lay the wires in the handlebars not to make their replacement very difficult. The simplicity of assembly and disassembly is important for stunt bike maintenance.
The handlebar risers must be attached either through solid aluminum bushings or bushings with solid polyurethane dampers. With the original rubber dampers, the risers are too mobile and fold when the handlebar is turned sharply. It makes riding unreal.
When removing the handlebar, it is best to pin out the connector not to cut the wires. We didn't manage to do so because the pins acidified. We had a risk to damage it and we had nothing to replace it with. Cutting the wire turned out to be faster and more reliable.
It is necessary to set the free play of the throttle and clutch cables after their final laying and fixing. Some additional bends appear after the fixing that pulls the cable quite tightly.
The left grip is fixed with some sandpaper which is a great solution. Sandpaper for skateboards suits best as it is moisture resistant, attaches well and has a suitable grain. We recommend sticking it with overlap to increase the handlebar diameter for better grip fixing.
The caliper mounting with washers is the universal solution, but not quite practical. When removing a wheel, each time you have to remember the number of washers. It is better to tighten the caliper with an applied front brake to fit it exactly along with the brake disc. If it's tightened without the brake depressed, there is a chance to skew it as the attachment bolts have a small clearance in the caliper holes.
When assembling a double-disk front brake on an FXR/Sportster fork, it is important that the disks have a recess for the bolt heads. The wheel fits very tightly between the frok legs, and if there is no recess, the heads will rub against the hubs.
FXR suspensions installing: https://stuntex.ru/en/article/fxr-suspensions
FXR chain and sprockets installing: https://stuntex.ru/en/article/fxr-sprockets-chain