Chain & Sprockets Harley-Davidson FXR
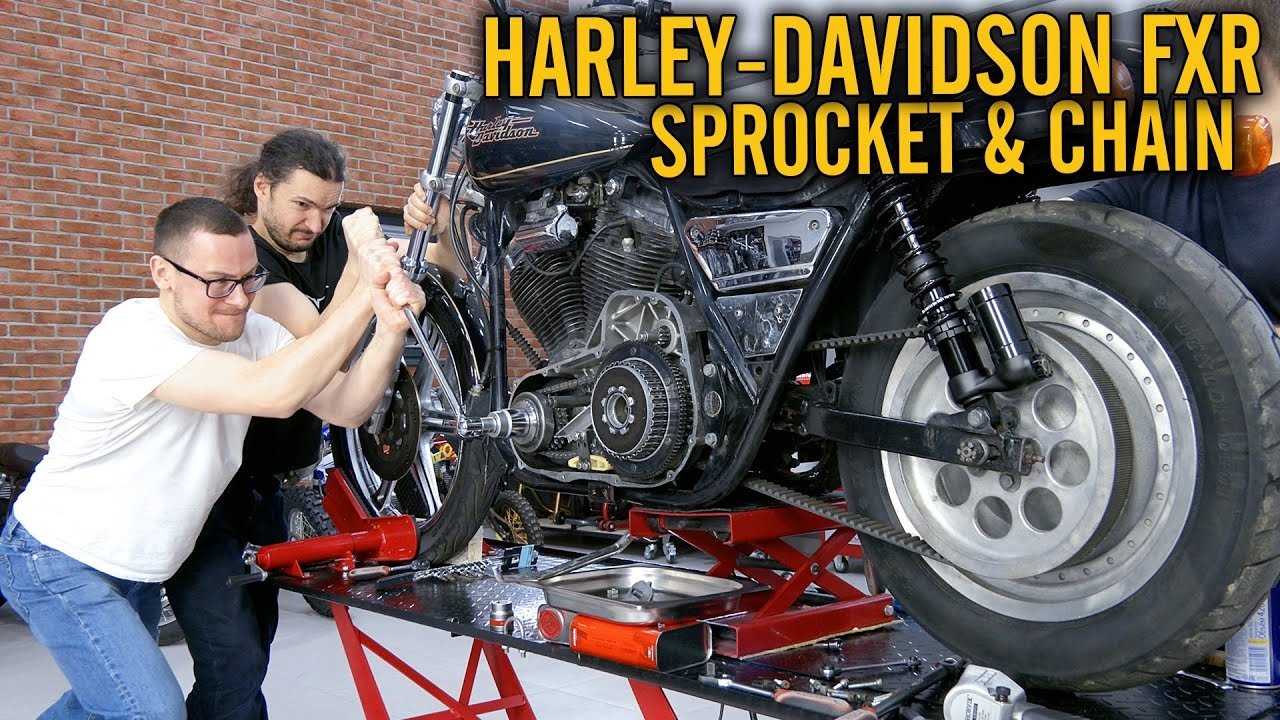
To customize the Harley Davidson FXR 1994 for stunt riding we installed a kit of sprockets and chain. The main reason - lower transmission losses: a belt has about 12-15%, while a chain has less than 2%. Also, a chain does not stretch and has a better torque response, which is important for sensitive throttle control. A chain can be replaced without disassembling the primary chain case. We have chosen a kit with the highest ratio to maximize torque and a strong 530 pinch chain with black coating of links. Replacement is not simple and requires taking off a primary chain case, rear-wheel and a swing arm, if necessary to save a belt. Tab washers and gaskets are better to use new when assembling. If the old ones are left it is recommended to inspect them for cracks since tabs can come off and break a mechanism. We haven’t changed them since the engine is for testing and is going to be rebuilt several times or even changed. If leakages occur - not a problem.
When adjusting a chain slack it is easier to take off shocks to set a swing arm as needed. But we have already installed new shocks using a thread lock and didn’t want to remove them. It is better not to rely on a manual when installing custom shocks and make a complete process. If a chain slack is not enough - a chain gets stretched. A slack setting value has been taken from a manual and looks reasonable, a higher value is not needed and a smaller one is risky since there is a lack of precision in setting a swing arm.
This bike has an Evolution V-twin engine but it was customized since a primary chain case is attached to a gearbox with 3 internal bolts, but in our case, there are 2 internal and 1 external bolts. The bike in the video was crashed and burned, and recovered from different parts.Though it doesn’t change much.
- 00:22 Removing a primary chaincase cover.
- 01:05 Removing clutch, compensator sprocket, chain, tensioner.
- 02:58 Disassembling starter jack shaft
- 03:12 Removing primary chaincase
- 04:07 Removing front pulley and installing front sprocket
- 05:09 Installing primary chaincase
- 06:41 Assembling starter jack shaft
- 07:20 Installing clutch, compensator, chain
- 07:54 Changing direction of torque wrench for left-hand thread
- 08:21 Setting clutch free play
- 08:35 Adjusting primary chain slack
- 08:56 Installing primary chaincase cover
- 09:21 Filling primary chain case with oil
- 09:59 Removing the rear wheel
- 10:10 Installing rear sprocket
- 11:20 Installing chain and master link
- 11:55 Adjusting chain slack
- 12:33 Tightening rear wheel
Installation of Legend AXEO39 fork cartridges and 15 inch Progressive Suspensions shocks on FXR: https://stuntex.ru/en/article/fxr-suspensions
Order stunt show: https://stuntex.ru/moto-show