Handlebar Installation XSR125
The handlebar configuration has the greatest impact on the rider’s ergonomics and comfort. Footpeg position and seat geometry also matter, but the handlebar is usually the first component riders adapt to themselves.
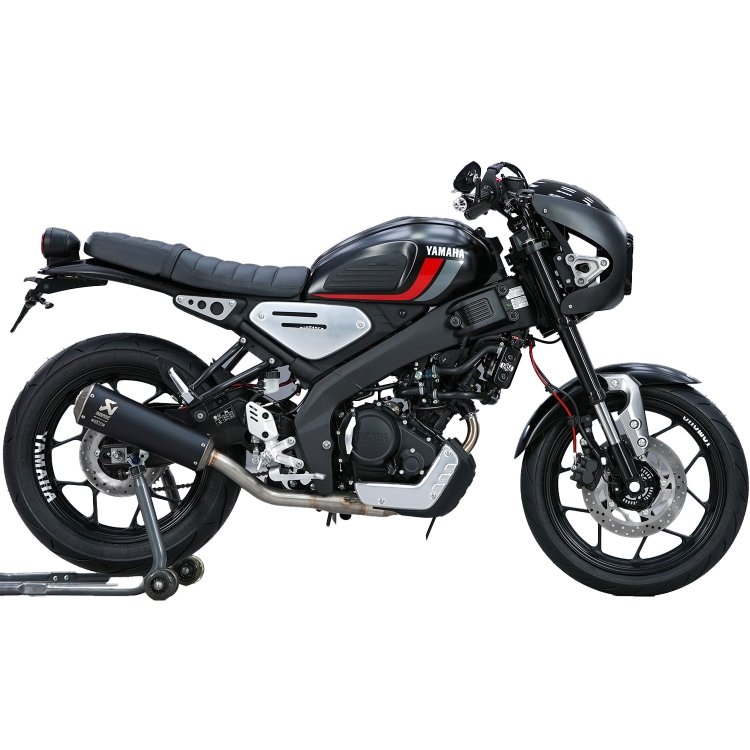
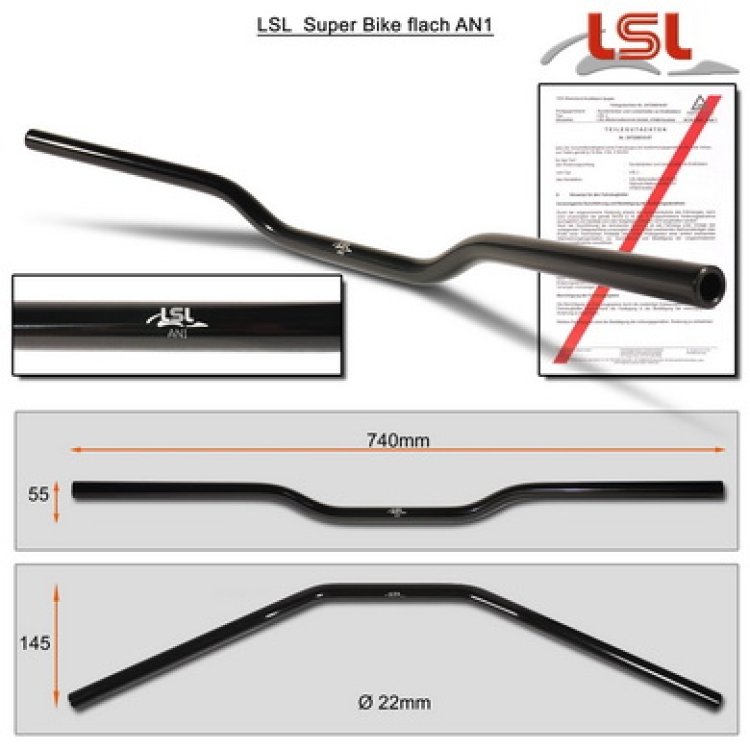
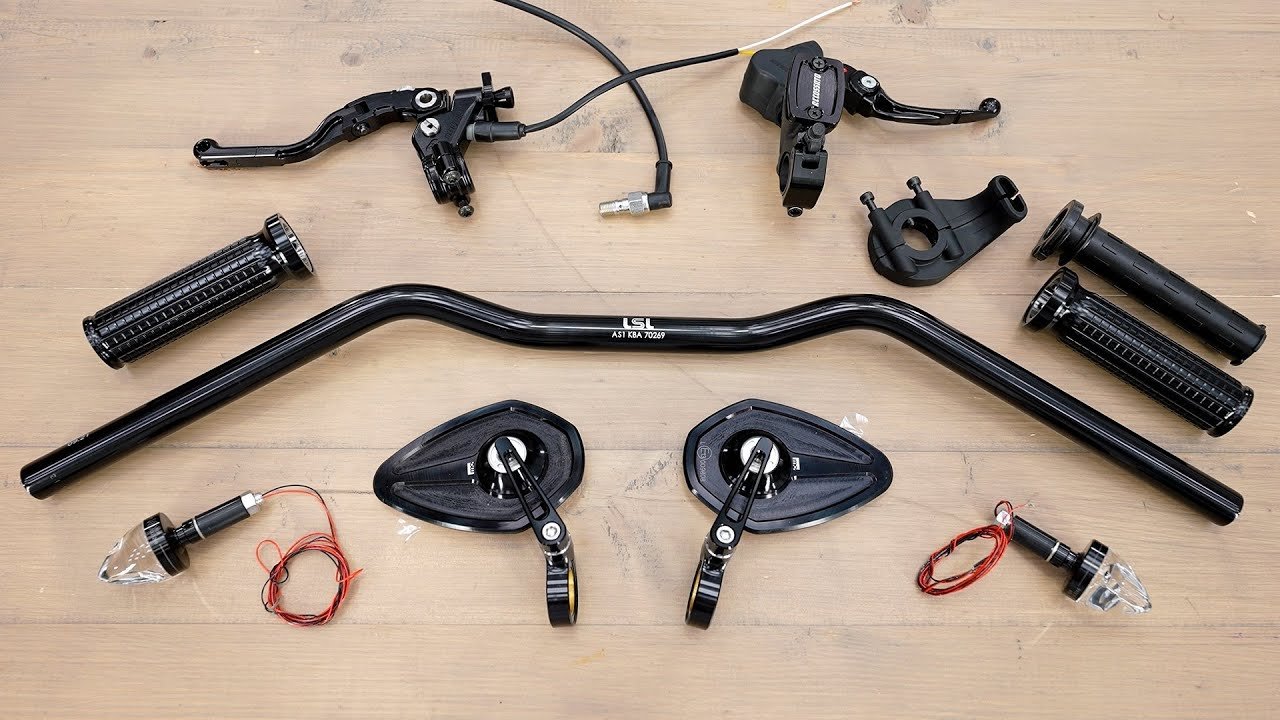
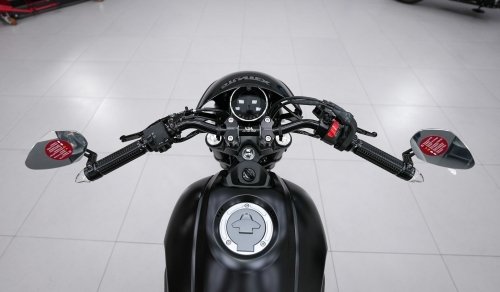
On our XSR125, the stock setup features a tall, straight handlebar. We replaced it with an LSL AS1 Clubman handlebar with a greater pullback, bringing the rider’s hands closer to the body and creating a more streamlined riding position. This handlebar is lower, better suited for more spirited riding. It also matches the factory caféracer styling of the Yamaha much better.
Turn on subtitles to see comments on key points of the process:
The handlebar replacement procedure often requires replacing or modifying the brake lines and the clutch cable if the position of the brake and clutch master cylinders is significantly changed compared to the stock setup.
It makes sense to replace the brake lines as a complete set rather than only the section from the front brake master cylinder to the ABS unit. Stainless steel braided brake lines reduce braking distance, improve feedback, increase the brake fluid boiling point, are more durable, and look better.
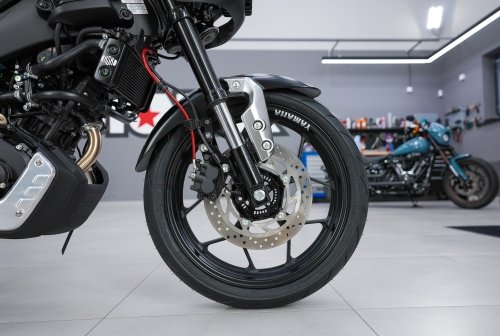
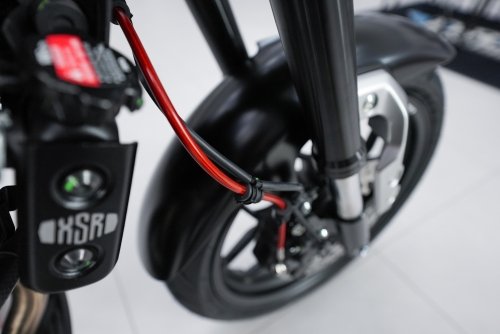
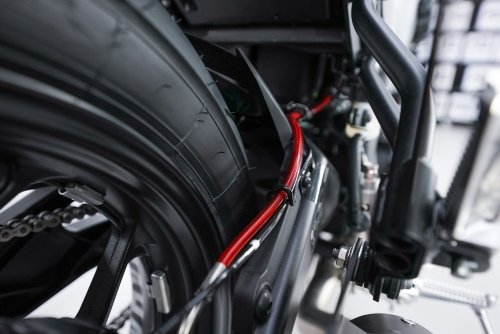
New brake lines are best assembled on the bike, especially on motorcycles equipped with ABS. This is the only way to achieve the exact hose lengths and fitting angles that prevent kinks, bulges, or crossing lines. It’s advisable to leave extra length in the section from the front master cylinder to the ABS unit, since when changing the handlebar it’s difficult to predict the exact final position of the fitting at the brake master cylinder.
New hose mounts often have to be fabricated, because the stock ones are designed for standard rectangular metal parts and don’t fit steel braided lines properly. On the XSR125, for example, there is a complex junction under the upper triple clamp that required the use of a rare 90-degree fitting.
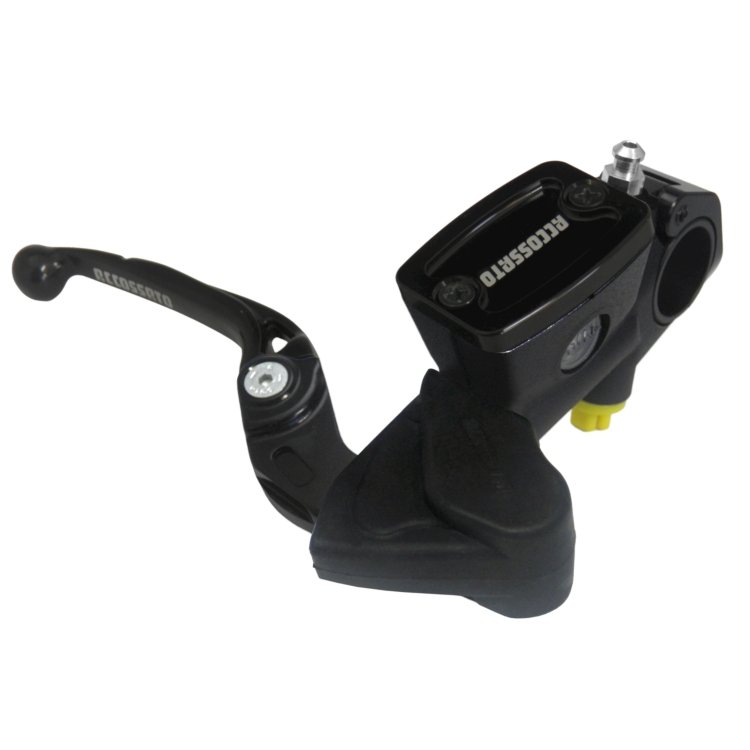
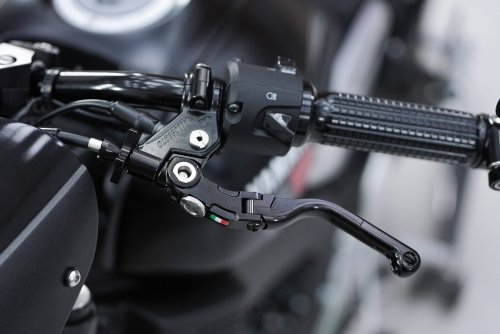
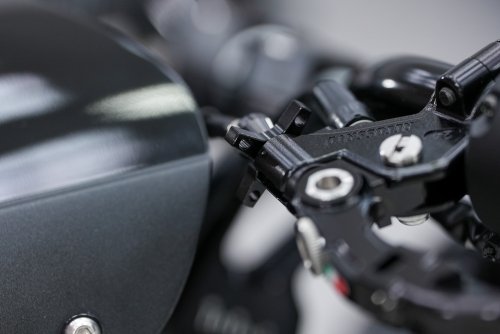
We replaced the brake master cylinder with a Тормозная машинка Offroad OLD 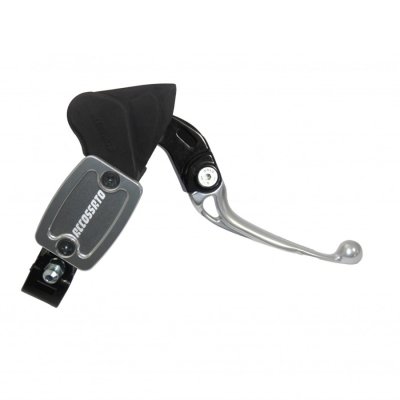 RUB 26,100 featuring an integrated reservoir, which works perfectly in brake systems with a small two-piston caliper. Such master cylinders are also suitable for motocross and enduro motorcycles.
The lack of free play, improved feedback, and increased braking force of the Accossato radial master cylinder, combined with HEL stainless steel braided brake hoses, significantly reduce braking distance and improve overall braking performance.
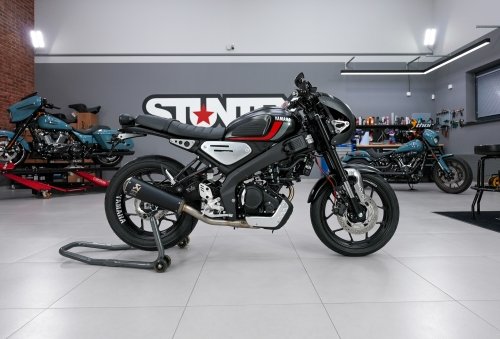
Such braking upgrades required replacing the stock dual-purpose tires with grippy road tires. We didn’t show the tire installation in the video, but you can see how they look on the motorcycle at the end. Visually, the new tires suit the caféracer style much better.
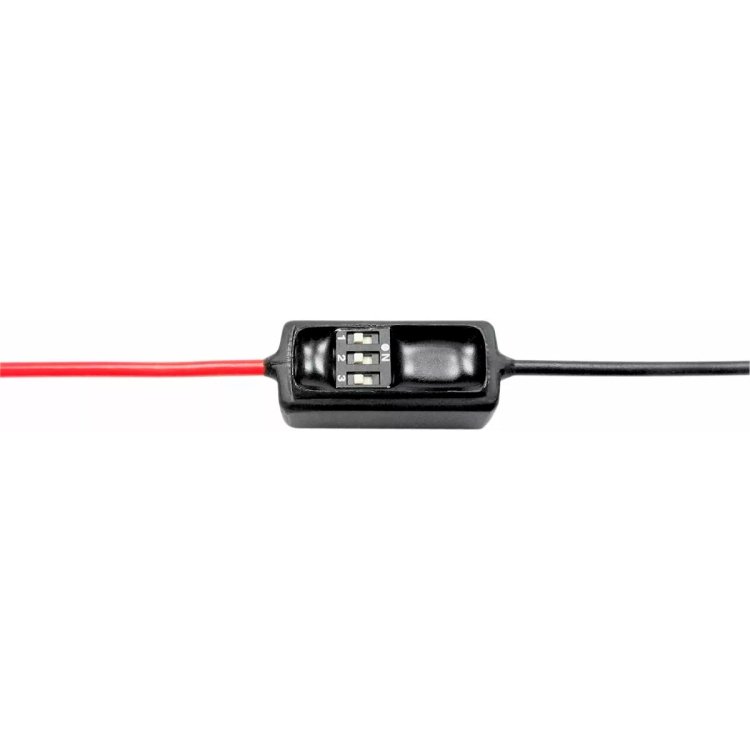
On the XSR125, the front brake light sensor wire runs separately from the switch wiring. To minimize the number of wires on the handlebar, we installed the brake light switch at the ABS unit instead—an excellent solution, especially when the ABS module is located at the front of the motorcycle.
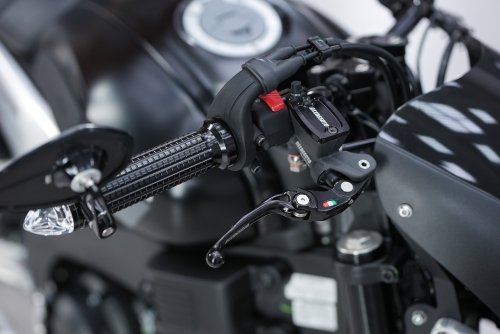
The clutch master cylinder was also replaced with an Сцепление Revolution 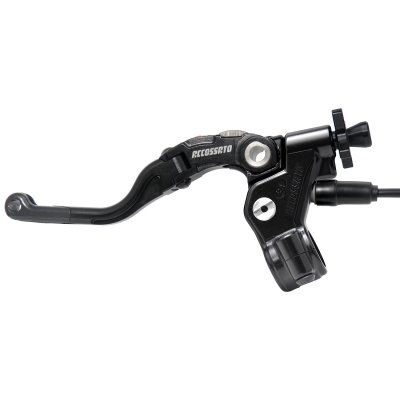 RUB 27,200 with a short lever. It not only looks better, but also reduces pull effort and is more ergonomic.
The clutch cable had to be slightly shortened to eliminate the pronounced loop, especially when turning the handlebar to the right. We cut off the excess outer sheath and made a new, shorter inner cable. A special galvanized core was used because tin can be easily and reliably fused onto it to secure the bosses.
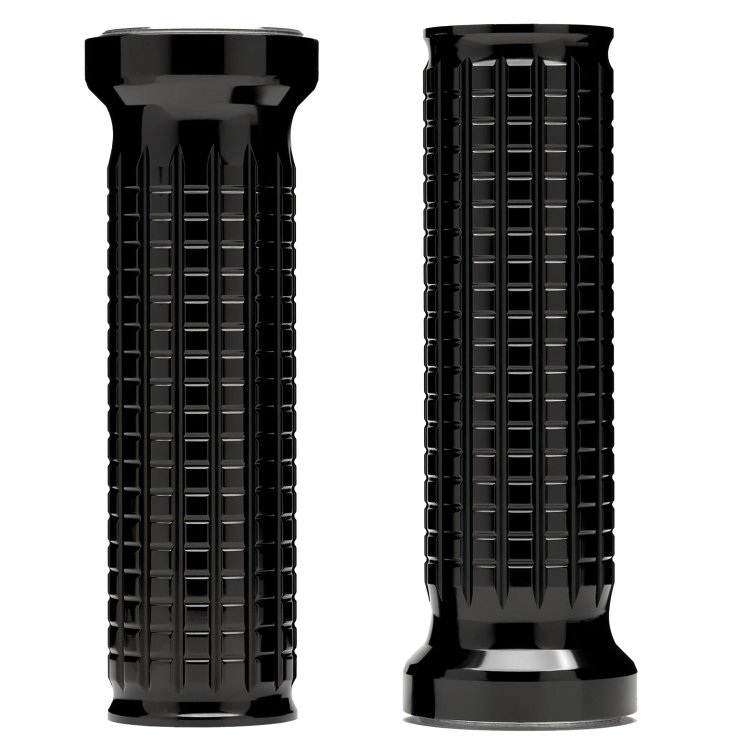
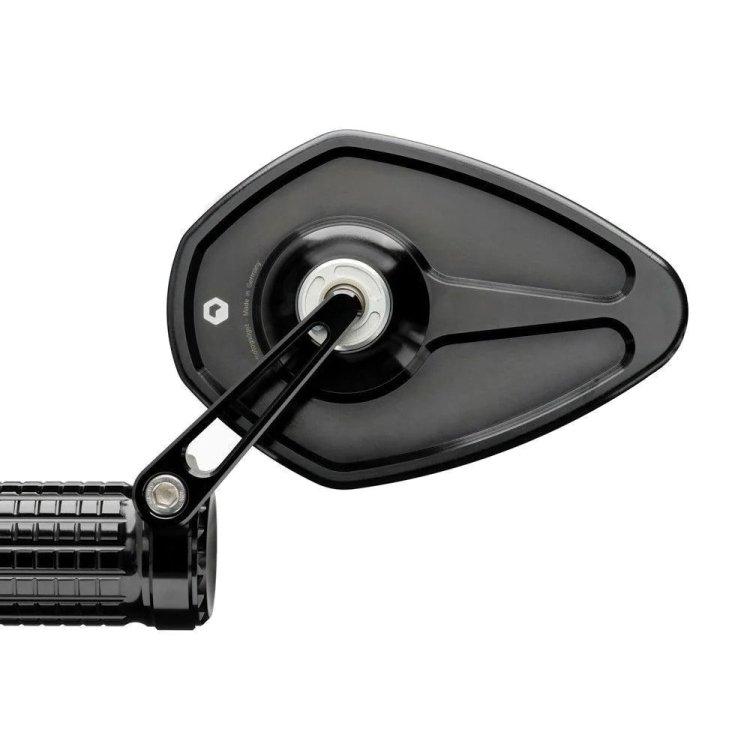
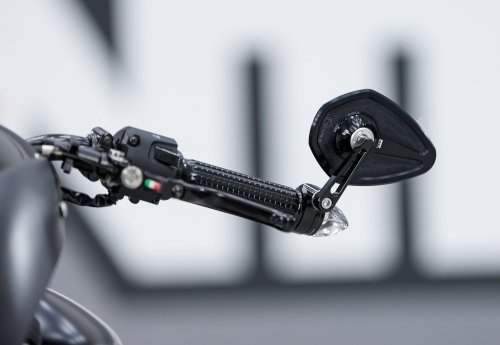
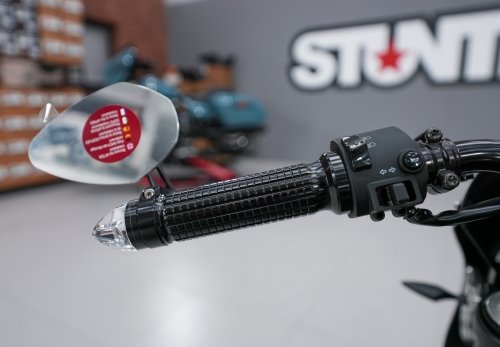
We installed aluminum grips from the German manufacturer Motogadget. The advantages are their look and grip, while the downside is that they do not dampen vibrations.
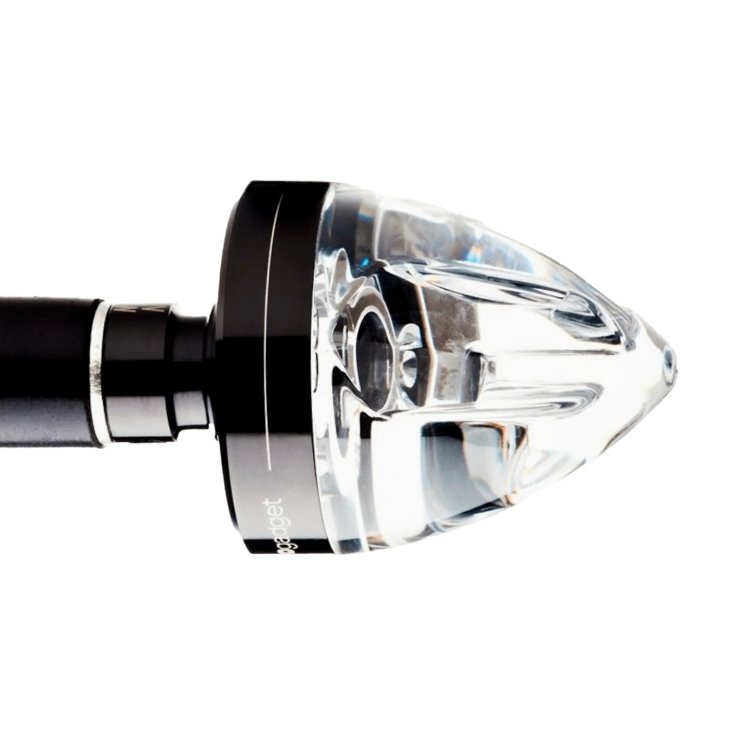
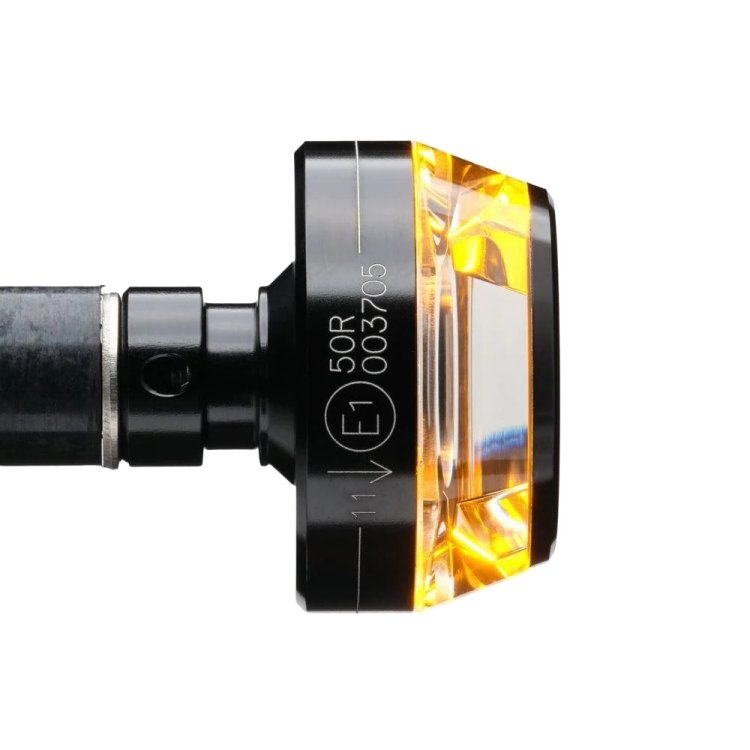
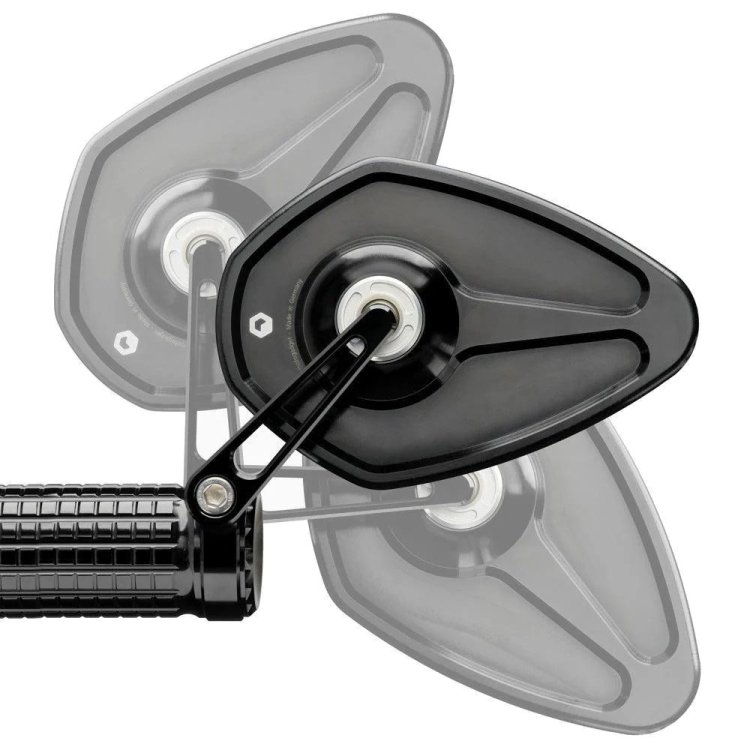
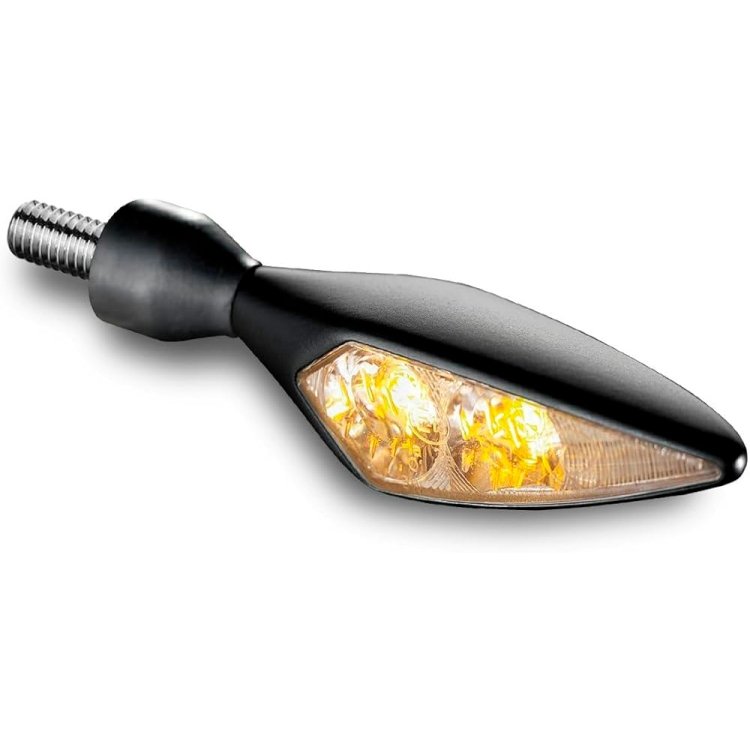
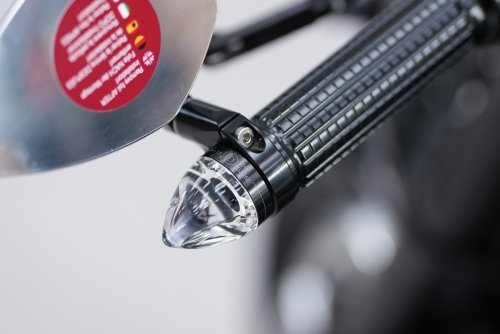
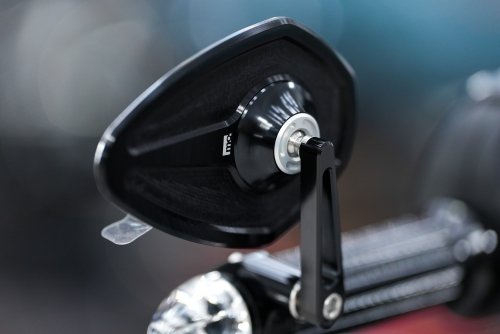
The grips pair perfectly with Motogadget Mo.view sport 60 Flip  RUB 20,500 glassless adjustable mirrors featuring a manual folding mechanism, as well as the bright mo.blaze cone
 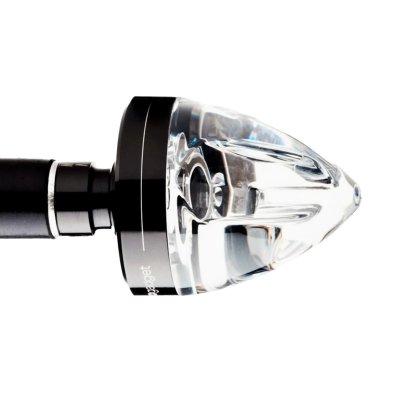 RUB 12,300 LED turn signals from the same brand. Together, everything looks cohesive and is easy to install.
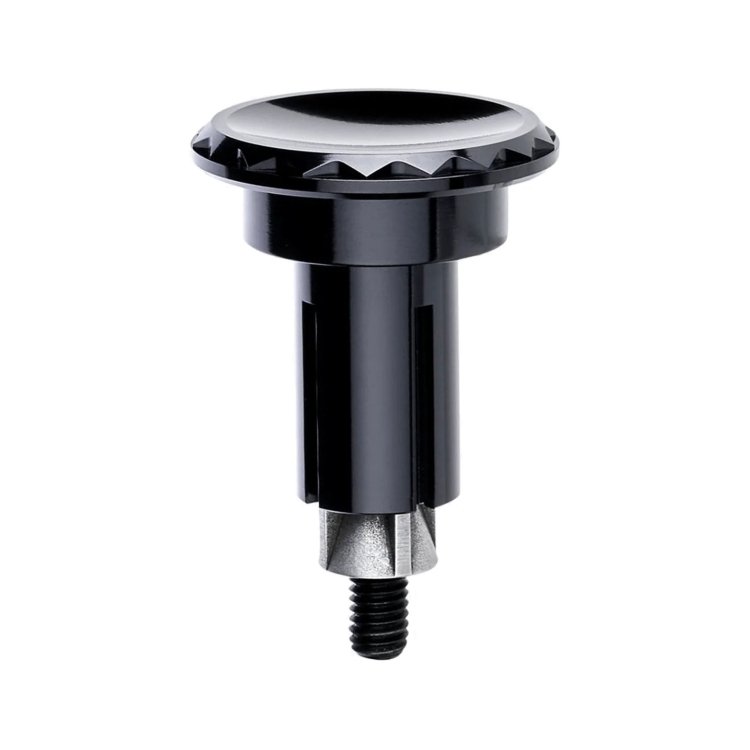
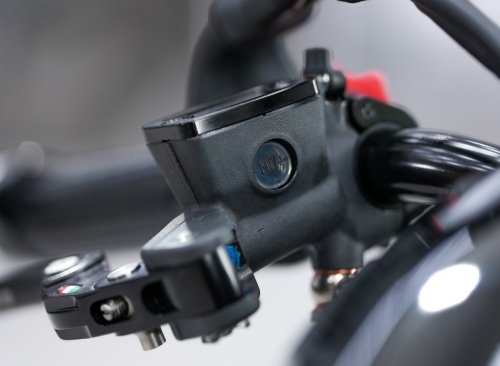
The mo.blaze cone turn signal wires are routed inside the handlebar and exit through a hole between the risers. These are ultra-bright, road-legal turn signals, which we installed in addition to the front Kellermann Rhombus turn signals to make our XSR125 'Dominator' as visible and noticeable on the road as possible.
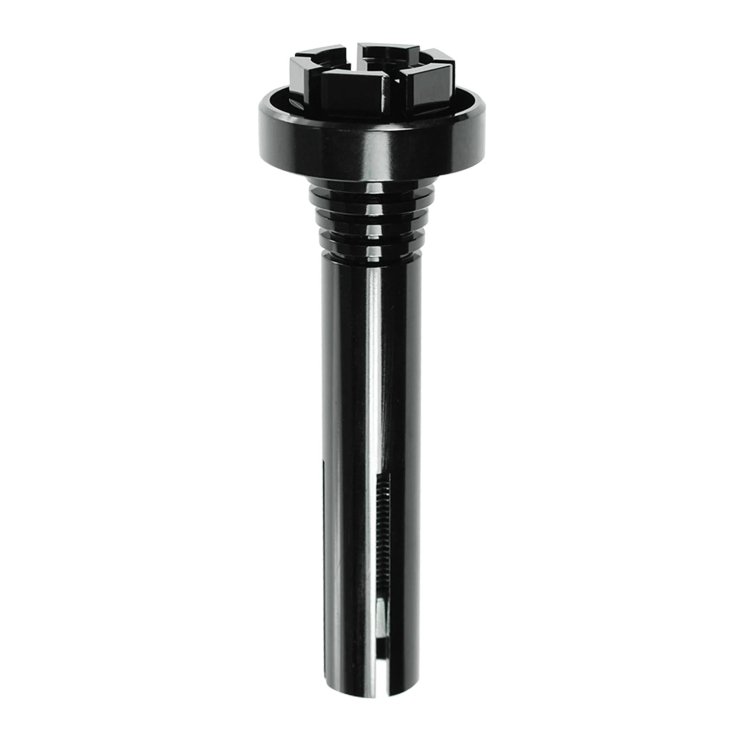
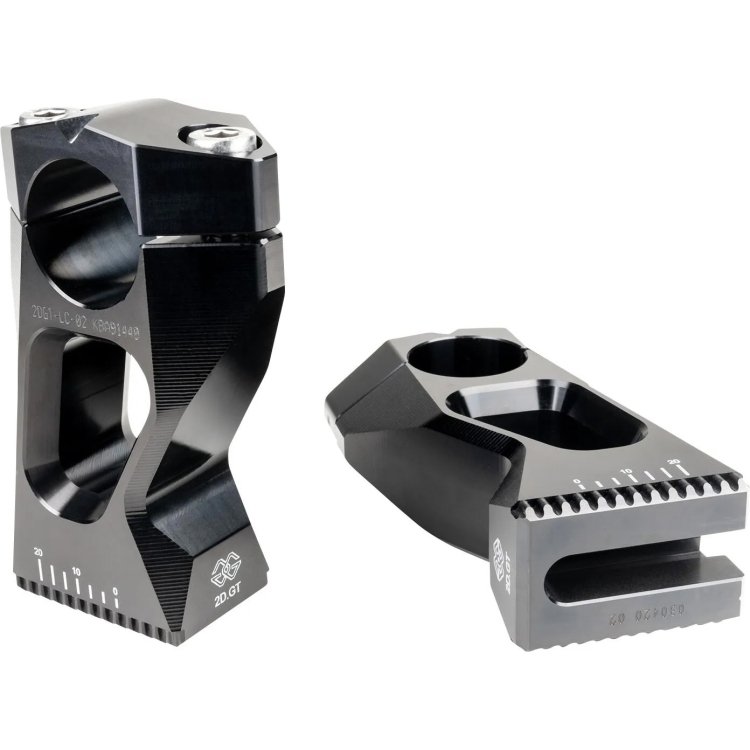
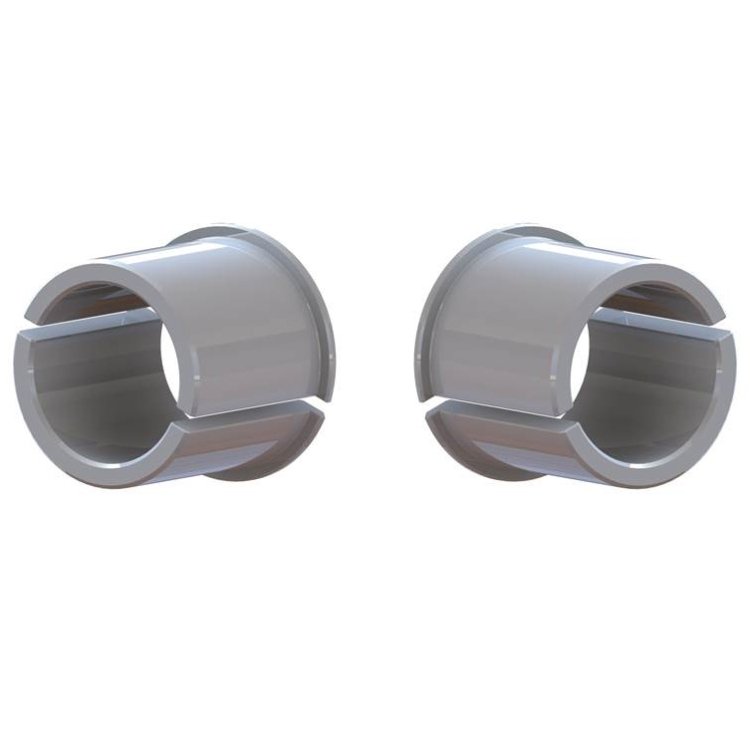
After installing the new handlebar, we encountered an expected issue: at full steering lock, the grips were too close to the fuel tank. This problem can be solved by using adjustable handlebar risers.
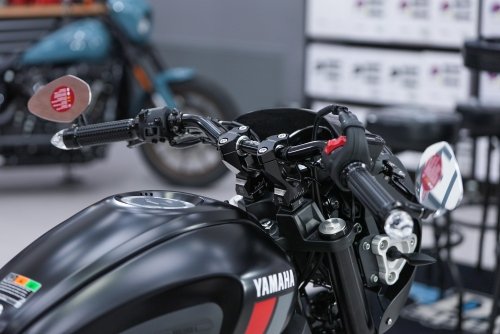
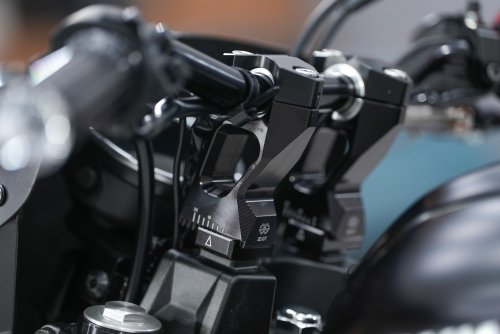
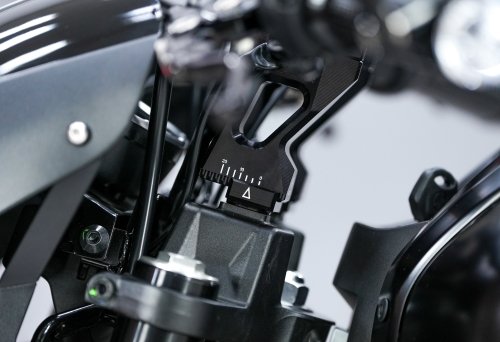
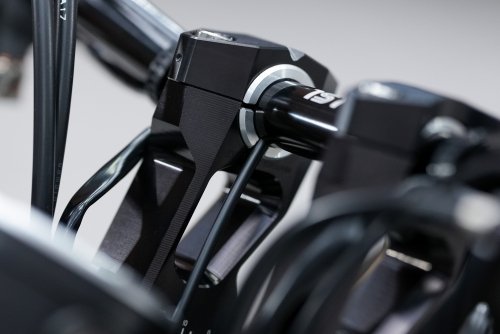
We’ve used Gilles Tooling risers many times before—they allow the handlebar to be moved forward/backward and up/down within about an inch, which is enough for precise positioning and individual adjustment.
Detailed installations of the Kellermann Rhombus turn signals and the ultra-bright Shark Demon 2 headlight are covered in separate articles in our magazine.
Overall, replacing a handlebar is not a simple procedure. In addition to precisely drilling holes in the handlebar for the switches pins, there is a lot of labor-intensive related work involved:
- Replacing the brake hoses and bleeding the braking system, which requires partial disassembly of the motorcycle.
- Modifying the clutch cable, which may also require additional disassembly.
- Modifying the front fairing, as the brake or clutch master cylinders may contact it. We were lucky in this case, but originally planned to cut an opening for the clutch cable adjuster.
- Routing the turn signal wiring if barend turn signals are used.
Motogadget, Accossato, HEL, and LSL components are available in our motorcycle shop.