Digital Electrics Mini Cooper 1964
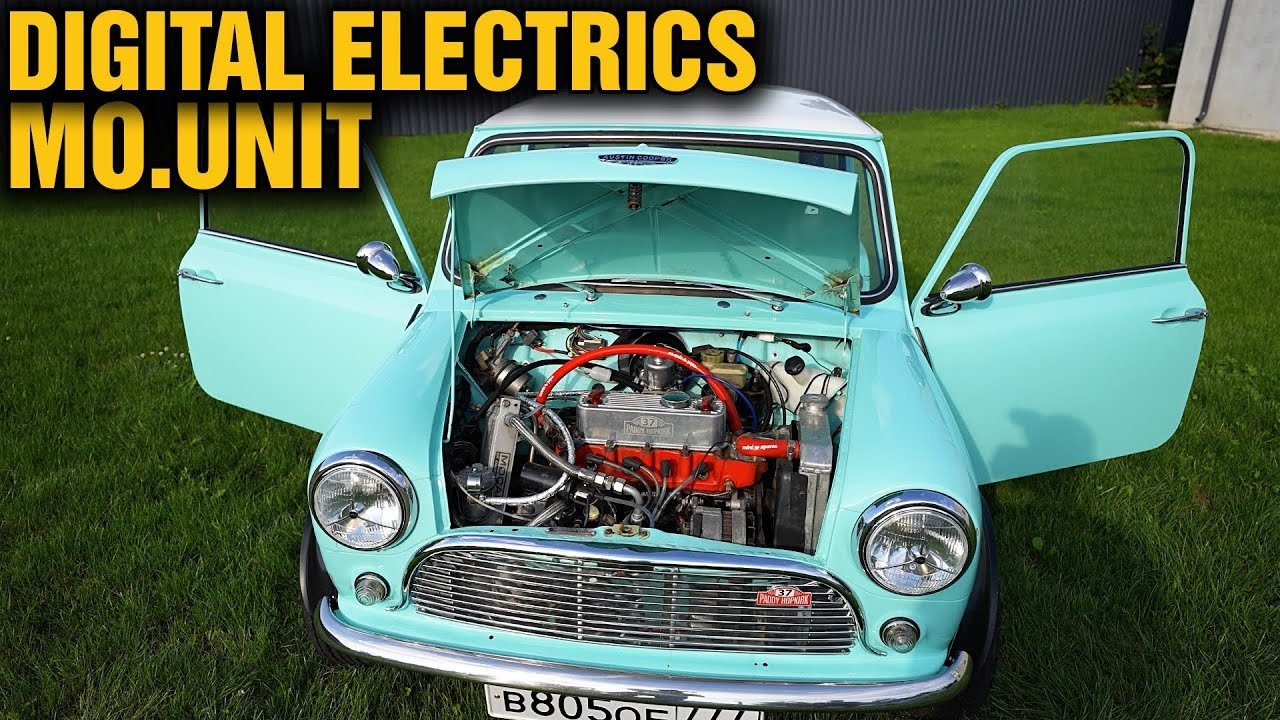
We've been working with the German manufacturer Motogadget for a long time and made lots of motorcycles using their units. So, we were excited to assemble the car electrics. Basically, there is no difference except the fact that the car has rear lights and has often more consumers. To install the Motogadget electrics, the owner of a very rare Austin Cooper Mark II 1967 contacted us. It is an absolutely legendary car. You can read more about it on the Internet, and this article is about installing the digital M-Unit controller on it.




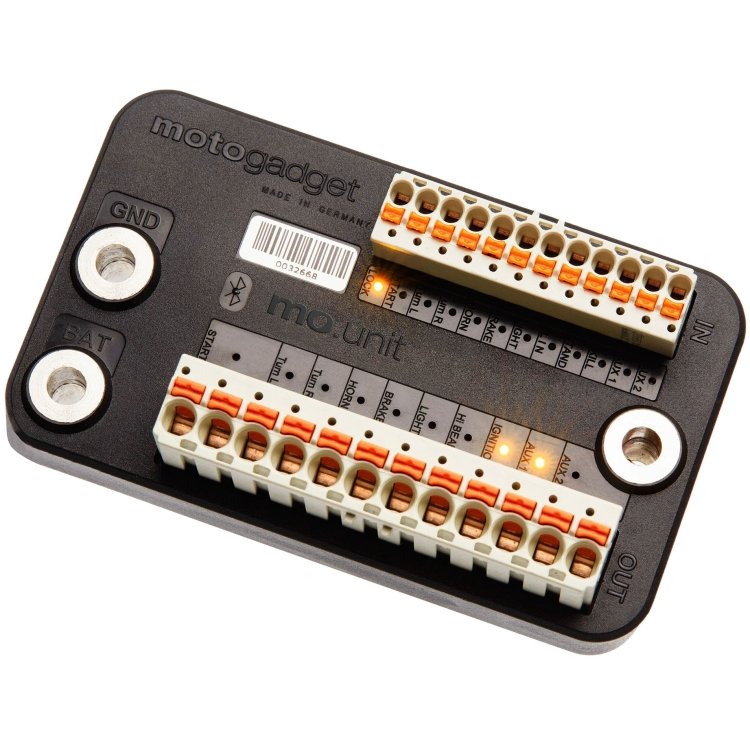
M-unit Controller
The M-unit controller unit replaces all fuses, so all consumers are connected directly to it. The maximum power of all ports must be taken into account. If more powerful devices are used, they must be connected through a relay and an appropriate fuse. The starter is connected via a relay if its power is more than 350W. The number of ports and capacity is sufficient for the standard functionality of a passenger car.
The M-unit works with any optics, so you can switch to LED lights and turn signals without any resettings or reconnection. If it were standard electrics, we'd need to add resistance or change the relay.
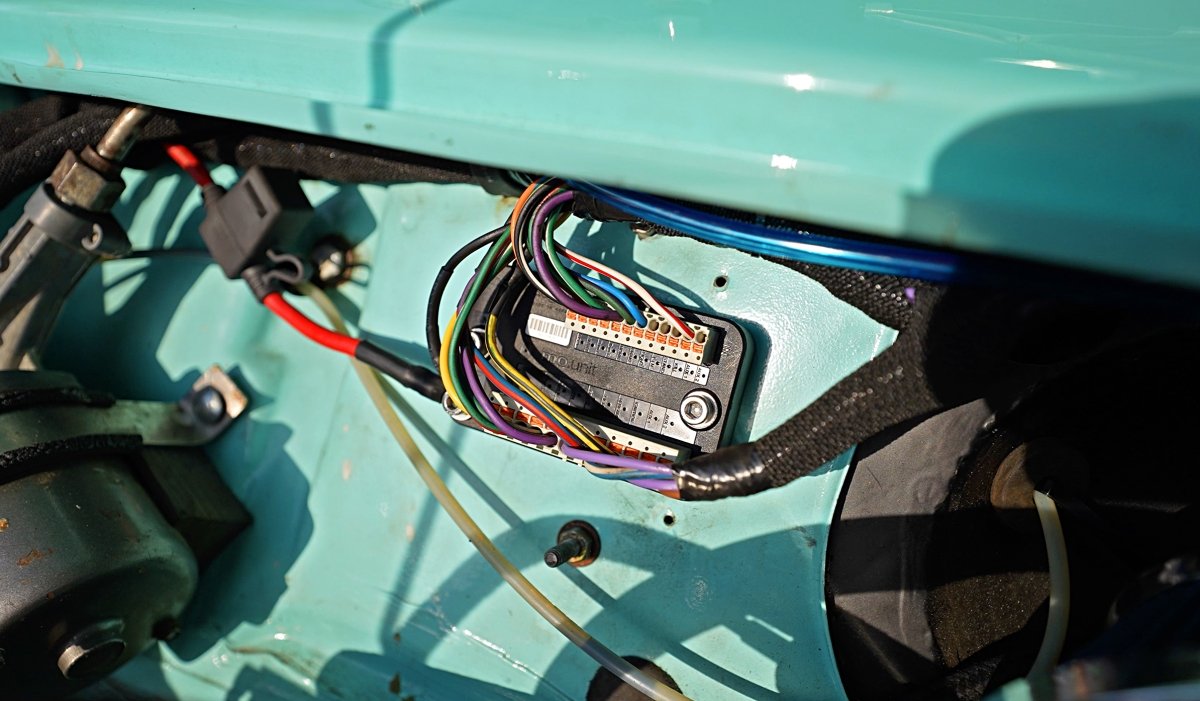
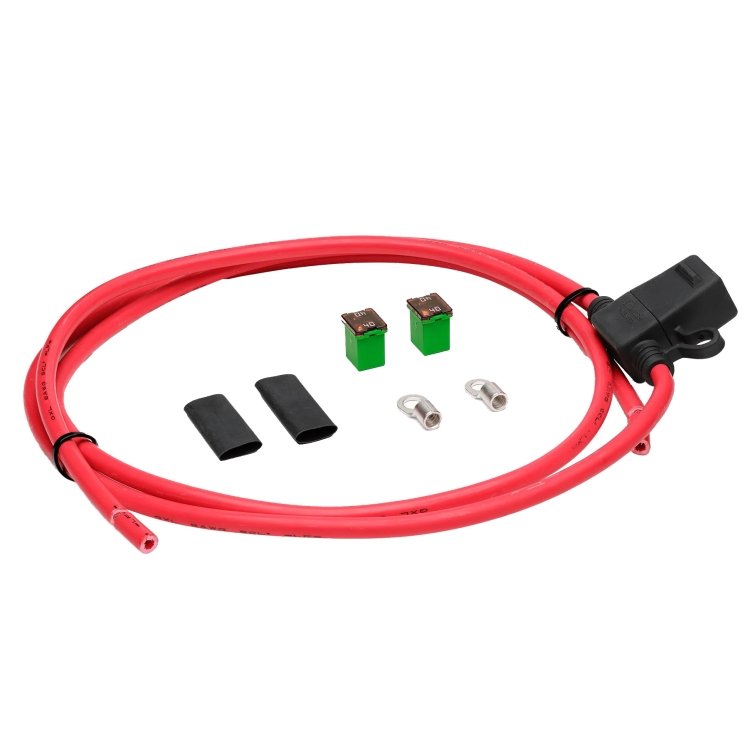
The main 40A fuse is placed between the M-Unit and the charging relay in case the voltage regulator fails (voltage surge). In the Motogadget manual, a fuse is placed between the charging relay and the batteries in case the rectifier fails (short circuit). If the fuse fails in the first case, the M-Unit turns off and the engine stops. If it does in the second case, the battery is disconnected, and the M-unit can operate at the charging current and burn out if the charging voltage gets above the acceptable level. It is better to place a fuse between the M-unit and the charging relay on a car, because the generator is powerful and can "burn" the M-unit.
The M-Unit controller is compact, vibration, and water-resistant; the port clamps are replaceable. There is also a cheaper version without Bluetooth.
It's great that Motogadget has added a compact 40A power cord fuse holder to their offering. We used to use sound fuses; their holders are bulky and need to be fixed.
Reverse
The reverse sensor is the switch that closes the circuit. One wire is earthed on the body of the car, and the second goes to the AUX1 input, on which the switch logic (SWITCH) is set.
Brake light
There is only one brake sensor, which is installed on the brake pedal. It's a switch that closes the circuit. So, one wire is earthed on the body of the car, and the second goes to the BRAKE input.
Vehicle control
The M-unit was designed for motorcycles with remote controls with push buttons. The controller provides a configuration for a three-position turn signal switch (car type), and a two-position low/high beams switch, in which there is no high beam blinking button. We decided to keep the high beam blinking. Now, the low/high beams are controlled by the same button, which is like using the car lever for blinking.
The alarm button is not used. In our case, the low/high beams switch is not used either. This does not create problems while driving.
Ignition switch
The ignition switch also locks the steering column. You need to cut the steering stop if you plan to use your smartphone as a tag. Otherwise, the steering wheel will lock without a key when turning.
Wipers/washers
The washers and wipers are a separate independent system that is controlled by a lever on the steering wheel. The wiper motor and pump are powered to the M-unit.
Tachometer
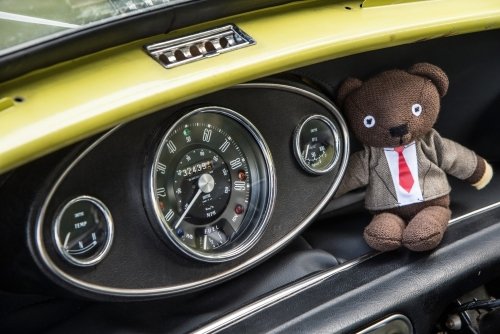
We also installed a Motogadget Chronoclassic tachometer. It is enough to connect the signal from the ignition coils to it and configure it for a four-cylinder engine in the ImpENG menu, setting the value 2. In the video we forgot to change the setting; by default, the RPM was twice as high.
Wiring
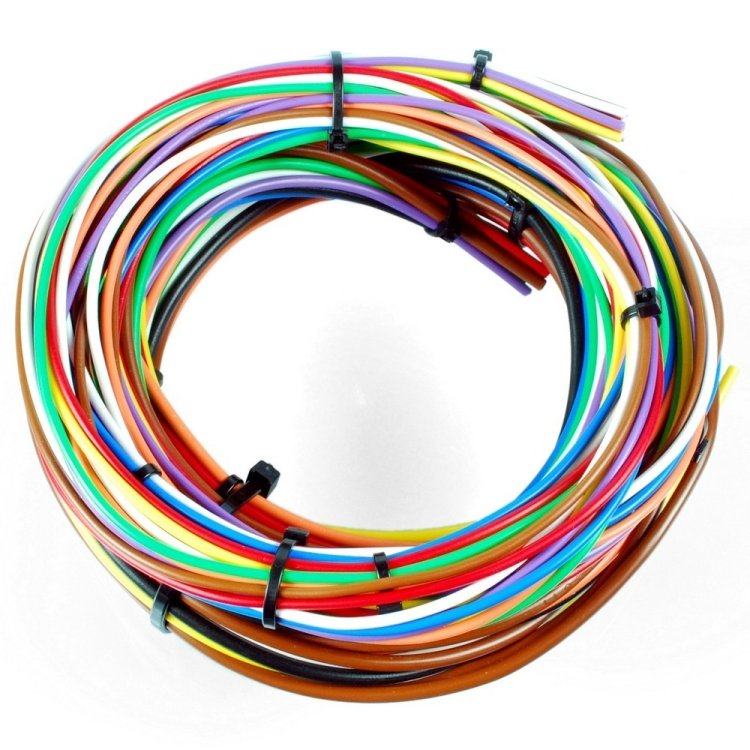
There are a lot of consumers in a decentralized power network scheme. The transition to a centralized electrical power network allows you to cut connections between them, which allows you to significantly reduce the number of wires. Also, the control wires can be replaced with thinner ones, since they only transmit the control signal to the M-unit. Originally, there are thick wires going to the controls, which power the consumers.
When assembling electrics from scratch, a circuit based on M-Unit will be much cheaper, more reliable and easier to install (fewer connections and elements).
If you need to install the M-unit instead of the original network, you will have to do a partial disassembly of the passenger compartment and unbraid almost all the wires. In our experience, it's easier to cut off all the elements and reassemble the network.
We are official dealers of Motogadget. In our store, you can get advice and get the entire range of Motogadget products at low prices. You can also find detailed articles on installing digital electrics on motorcycles in our stuntex.ru magazine.
Buy Motogadget M-unit: https://stuntexshop.ru/motogadget-m-unit


